Friday, January 20, 2012

Doing the Coupon Thing

(takes a deep breath) I am going to do the coupon thing again. Just saying that gives me a feeling of being overwhelmed. What is it about couponing that seems impossible? Is it the sight of tiny coupons jammed into an organizer or is it watching Extreme Couponing that makes it seem so daunting?

I did the coupon thing once before but looking back I realized I was doing it all wrong which resulted in me giving up on the whole thing. Here are some things that I learned:

  1. Do not cut all the coupons and put them into a coupon organizer to keep in my purse. I am not doing this again because (1) it made things more confusing and (2) I like my small purse. I do not want to have to buy a bigger one for the sake of toting around coupons that end up expiring before I notice.
  2. Do not become obsessed with coupons and savings. Ok, that may sound weird, right? The point of using coupons is to save money so why would I not devote a huge chunk of time for it? Simple. I got burned out. I was so into it that I started to resent the time it took to scour the flyers and find the coupons.
  3. Do not expect gigantic savings right away or all the time. I will save money with coupons but that does not mean I am going to cut my grocery bill in half right away. Nor does it mean I am going to have huge savings every time I buy groceries. Some weeks will be awesome and some weeks will be so so.
This time around I am taking a more laid back approach to couponing. I am starting slowly, being more organized and not eating, breathing, sleeping coupons. I want to succeed in saving money and I want to prove to myself that I can do it and stay sane. So here is my plan of attack this time around:


  • Ok, so instead of clipping the coupons and keeping them in an organizer I am keeping the coupon flyers in a three ring binder. As soon as I get them I punch the holes and put it right in. The oldest on top, the newest at the bottom - this way I can make sure that the ones about to expire get seen first.

  • Using the binder also keeps them from just falling apart. I can just flip through easily.


  • I write the date that I recieved the flyer at the top. Why do I do this? I use CouponMom to help find the deals at the stores I shop the most. Each item listed will have the flyer name and date so you can easily find the coupon. A time saver!

CouponMom is a great site for those wanting to start couponing! Just be warned that if you sign up for the emails you will get bombarded. Some folks might be ok with that but it stressed me out.


  • Now that I'm organized I can go through the store flyers, circle items we use, go to CouponMom and check the stores I shop for their weekly deals and what coupons to use.


That seems simple enough, right? Like I said before I am taking things slow this time. Once I get a good rhythm then I'll venture into other areas of couponing. Who knows maybe you'll see me on Extreme Couponing one day. Ha!

Wednesday, January 11, 2012

Wash. Dry. Fold.

I was looking for an easy way to "decorate" my laundry room (aka laundry closet). There is very little space but I was tired of the same 'blah' look. I decided to have the words Wash Dry Fold up on the walls. Here is what I did to add a bit of personality:


1.  I used thick cardboard coasters (I found them at Michael's craft store) to put the letters on.


2. Using my daughter's brown Crayola paint, I painted the sides of the coasters.


3. At Micheal's I found a big pack of while cardboard letters for only $1.99.


4. Using the technique from my other project, click here to see, I picked out scrapbook paper and glued a piece to each square. After they were dried I used my X-acto knife and trimmed the edges. I used Distress Ink on the edges of the paper too.

**To keep the letters flush with each other I cut a strip of thin cardboard and hot glued it to the back of each word. This keeps them from separating.

I glued each letter on with plain Elmer's glue and let that dry.


5. Since the laundry closet tends to get a bit humid at times, I brushed on a coat of Mod Podge. I used the Matte Mod Podge because I did not want a shiny reflection.


6. After the Mod Podge dried I used 3M velcro command strips to mount them on the wall.


Ta da!

Monday, January 9, 2012

Another take on my earlier craft

I love the concept of using 12x12 pieces of thin wood and paring it with scrapbook paper. So easy yet so many options for decorating.

I took that same concept and made a piece for the foyer entrance:


The wood was left over from my dining room project. I found (with help) paper from my stash. I bought the wooden E at Michaels for $3 and painted it.

Easy, peasy.

Thursday, January 5, 2012

My first DIY wall decoration (idea from Pinterest)

First of all let me say that I am addicted to Pinterest! There are so many fabulous ideas!


Ok, here is my step-by-step process to making these awesome yet very inexpensive wall decor:


1. I went to Lowe's and found a thin piece of board (shelving board) and had them cut it into 12x12 pieces. This was the exact size to get 8 pieces. (I only used 6 for this project)


2. Then I picked out 6 sheets of scrapbooking paper that I wanted to use.


3. I took a piece of sand paper and smoothed all four sides of each square.


4. I then painted the edges of the boards. As you can see I am using some of my daughters Crayola paint so don't think you have to go out and buy expensive paint.


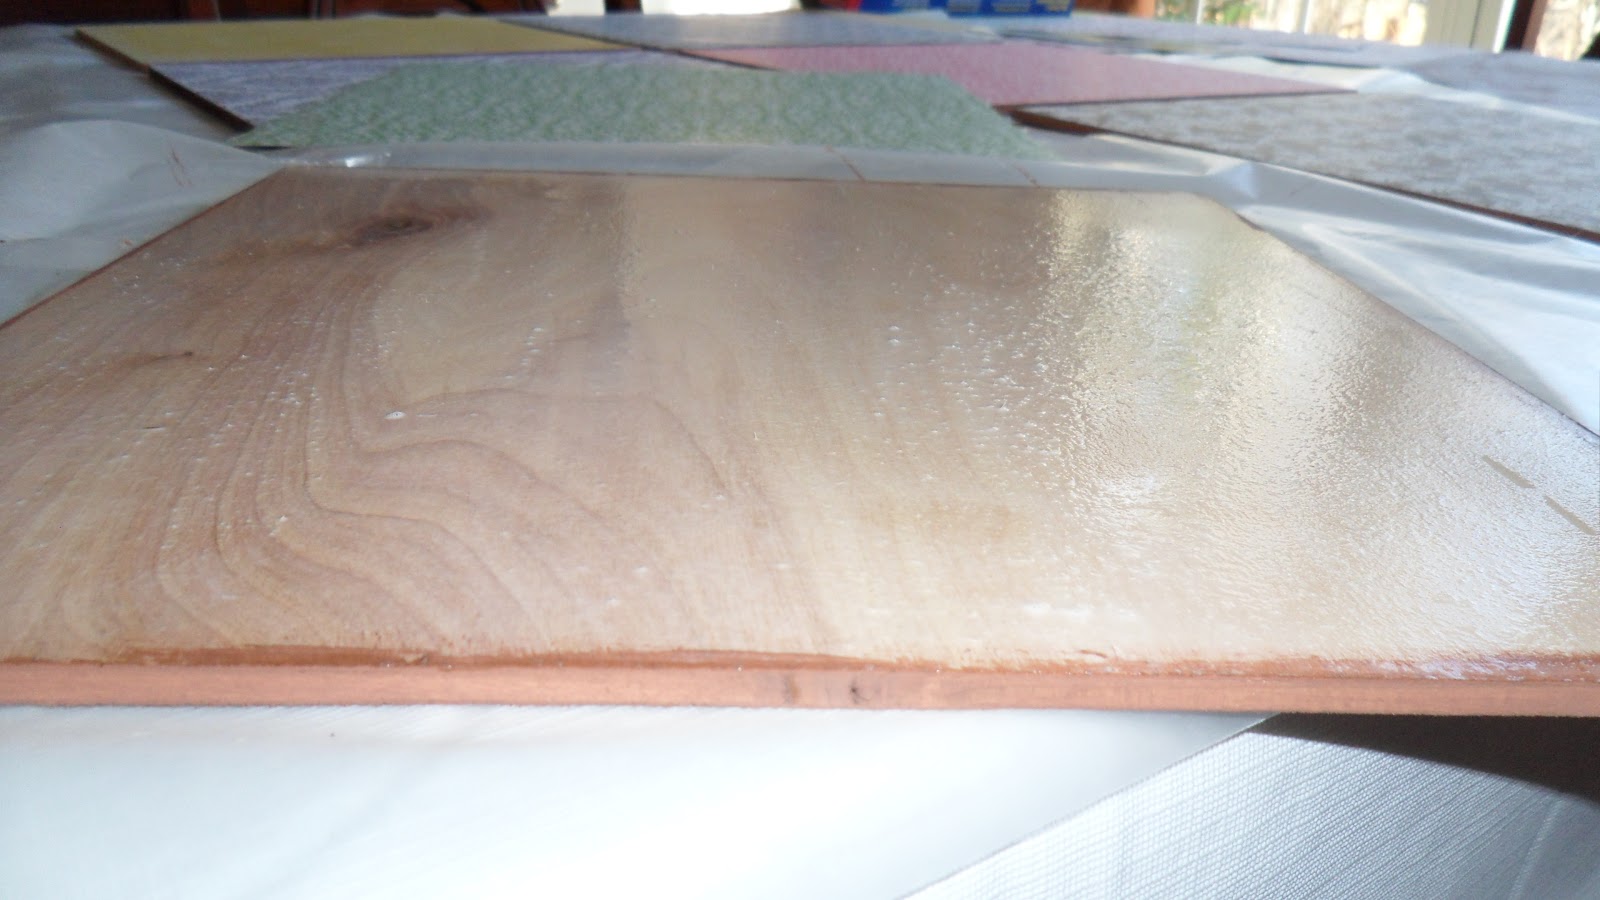
5. After the edges dried I took some watered down glue and then coated the side where the paper would be going. Make sure you have a good coat on there. It helps to prevent air bubbles.


6. After you get your paper on, immediately place a weight on top of it. I used my thick packs of scrapbook paper and random other things that completely covered the surface and pressed it down good.


After 5 minutes you can take the weight off and them let them air dry.


After they were dry I took an X-Acto knife and trimmed off any paper that was over hanging.


7. I used Distress Ink to smudge the edges of the paper. This softens the edges and gives them that cool vintage look.


8. Time to hang them! I used the 3M velcro picture hanging strips so that they would be not completely flush with the wall.


 I love the distressed look!


The only two things I paid for was the wood and the distress ink. Only $15 for this entire project!!

Wednesday, December 7, 2011

Here's Charlie!

I love, love, love Christmas time and having a little one helps to make this time magical again just like when I was a kid! Like many families we have a very special elf sent from Santa to keep tabs on Leah during the month. This tradition is just as fun for me as it is her!

Meet Charlie:


He's been finding places to hang out all over the house. So far he has been a good elf but I have a feeling he is going to get more creative (aka messy).

So far he has been spotted in these places:

Above the kitchen window.


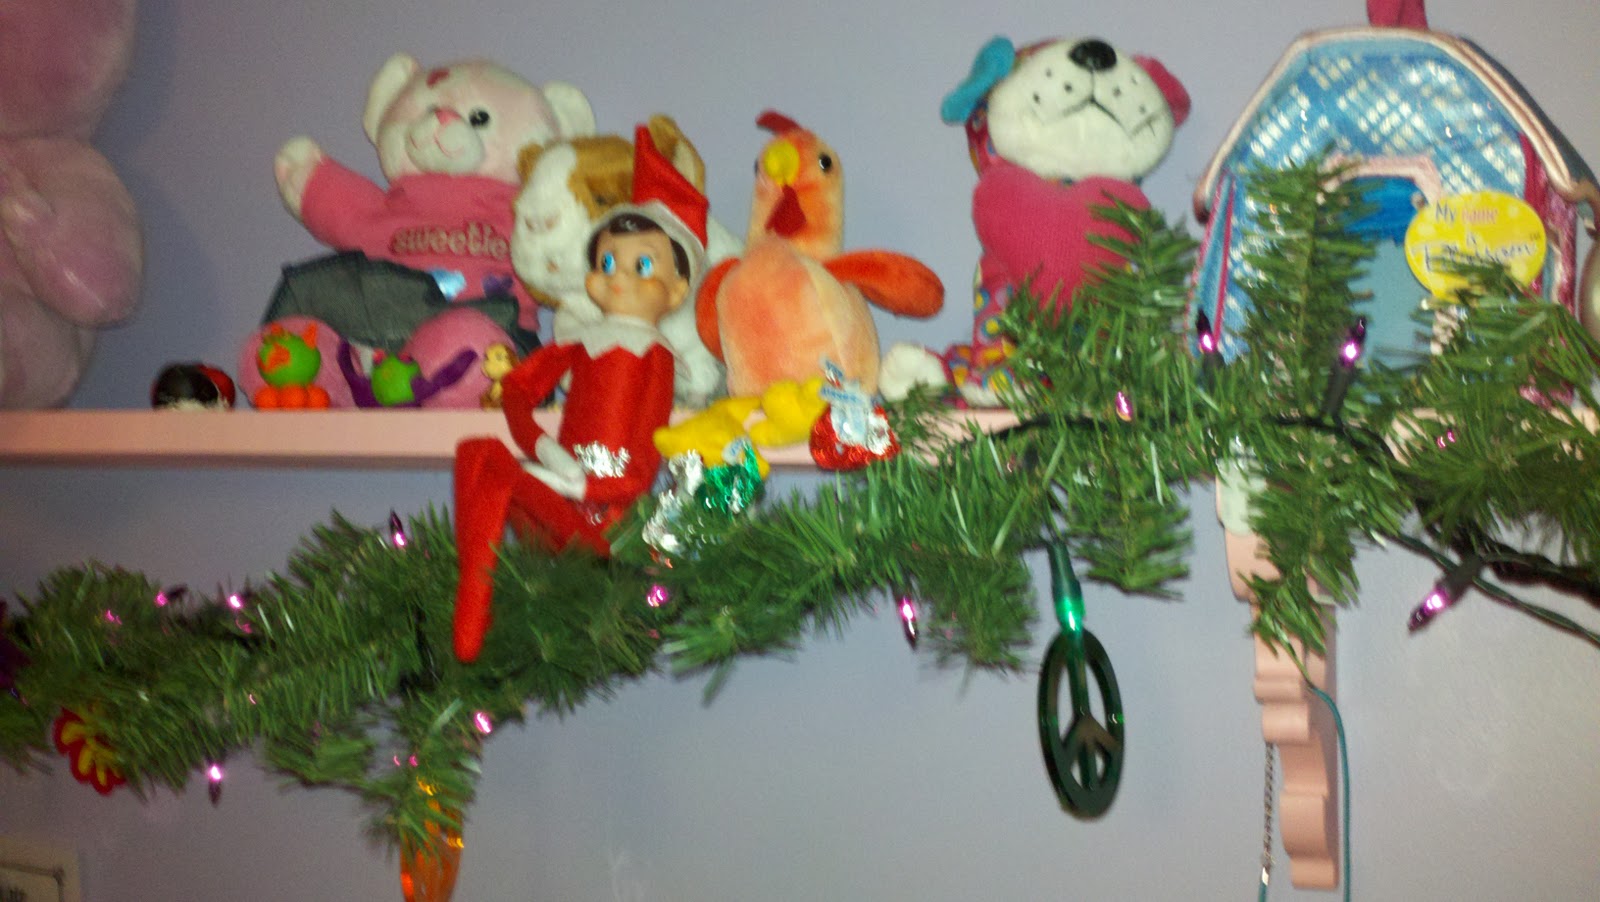
In Leah's room on her decorations.


For some reason I could not get this picture to rotate! Frustrating but just cock
your head to the side and the problem is solved.


He TP'd her bathroom and left her a new shirt to wear to school.


Chillin' on the wreath.


He made himself a swing out of a candy cane and was swinging in the kitchen.


Charming Barbie with his mad driving skills.


Riding an American Girl pet in the China cabinet.


He had a craving for Nilla Wafers. 


Fun, fun, fun! I love this tradition!

Sunday, November 6, 2011

Summer at a Glance

Ok, so I really thought I would be better at this blogging thing but apparently I'm not. Time goes by too quickly and I never have time to sit down and 'chat' about the going ons of my life. So to feel caught up I am doing a quick review of summer:

 Karate kid - Baby girl took a karate class.Photobucket


I am a super warrior!
Photobucket


What did you say to me?

Photobucket


LAST DAY OF SCHOOL! So long 1st grade!

 
Photobucket

Photobucket

Playing Papparazzi with mommy stalking me!

Photobucket

Photobucket

Photobucket

Pool time at The Bright's House!

Photobucket

Photobucket

On the farm at Mawmaw and Pawpaw's house!

Photobucket

Photobucket

Photobucket

Visiting friends in NC!

Leah would have taken the baby home if we had said yes. LOL!Photobucket

Photobucket

Photobucket

At Nana and Poppy's house!
Photobucket

First day of 2nd grade!
Photobucket

Lots of traveling, swimming, hanging out with friends............a great summer!

Ciao!