Ok, here is my step-by-step process to making these awesome yet very inexpensive wall decor:
1. I went to Lowe's and found a thin piece of board (shelving board) and had them cut it into 12x12 pieces. This was the exact size to get 8 pieces. (I only used 6 for this project)
2. Then I picked out 6 sheets of scrapbooking paper that I wanted to use.
3. I took a piece of sand paper and smoothed all four sides of each square.
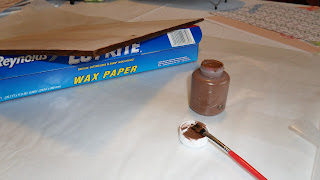
4. I then painted the edges of the boards. As you can see I am using some of my daughters Crayola paint so don't think you have to go out and buy expensive paint.
5. After the edges dried I took some watered down glue and then coated the side where the paper would be going. Make sure you have a good coat on there. It helps to prevent air bubbles.
6. After you get your paper on, immediately place a weight on top of it. I used my thick packs of scrapbook paper and random other things that completely covered the surface and pressed it down good.
After 5 minutes you can take the weight off and them let them air dry.
After they were dry I took an X-Acto knife and trimmed off any paper that was over hanging.
7. I used Distress Ink to smudge the edges of the paper. This softens the edges and gives them that cool vintage look.
I love the distressed look!
The only two things I paid for was the wood and the distress ink. Only $15 for this entire project!!


No comments:
Post a Comment